Setting up your Amplified account is easy. We'll guide you through the process and have you up and running in no time.
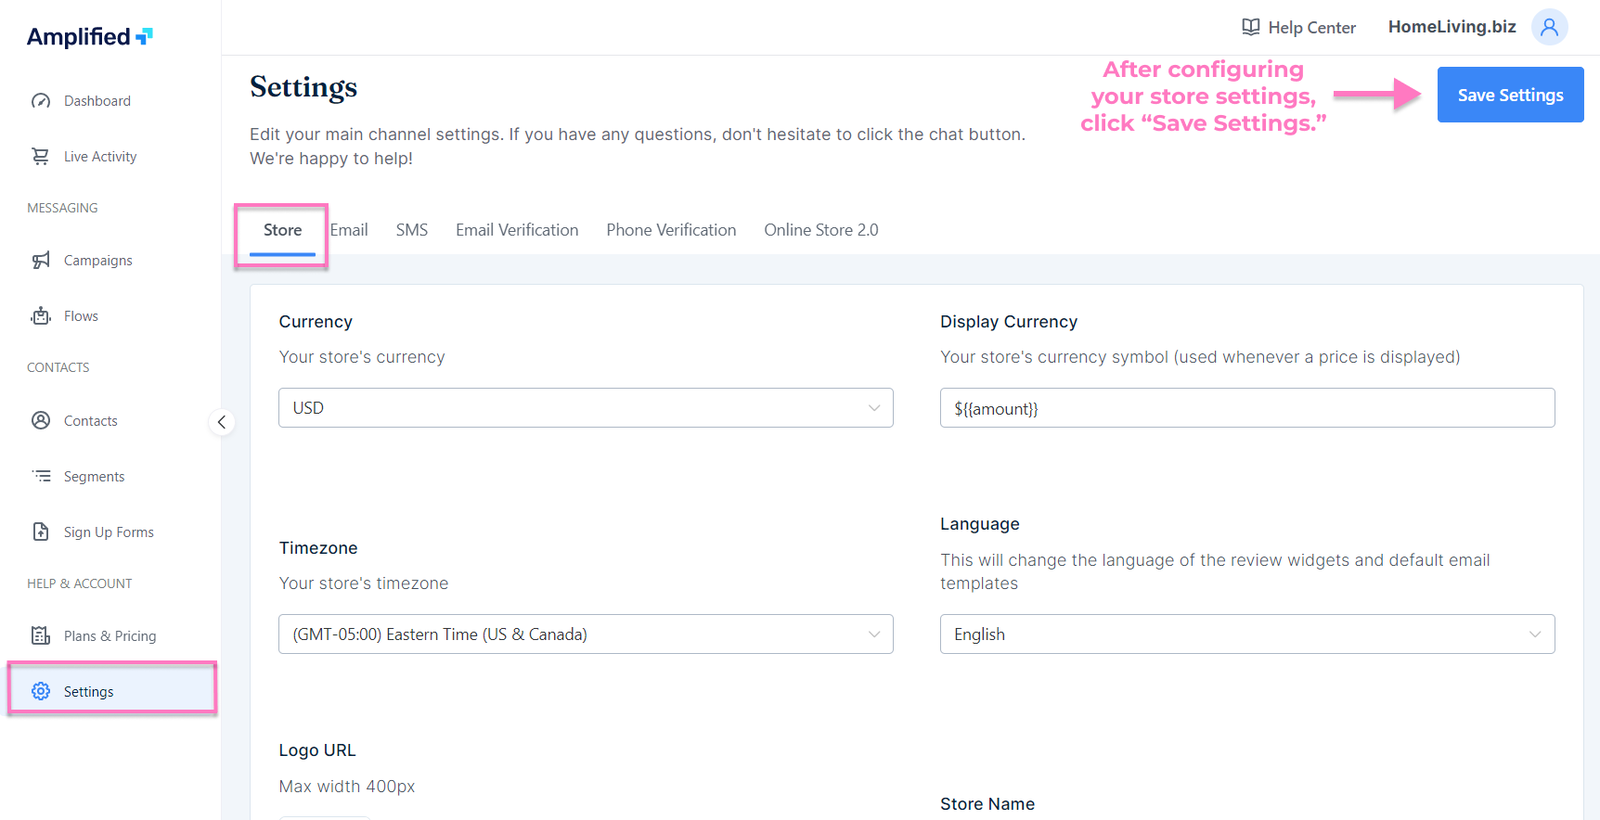
Step 1: Configure your Store Settings
- Choose the currency and symbol you want to use for price displays in your store.
- Select your store’s time zone and language. By changing the language, review widgets and default email templates will change as well.
- Add your logo. The maximum width for the photo is 400px.
- Add your store name and domain.
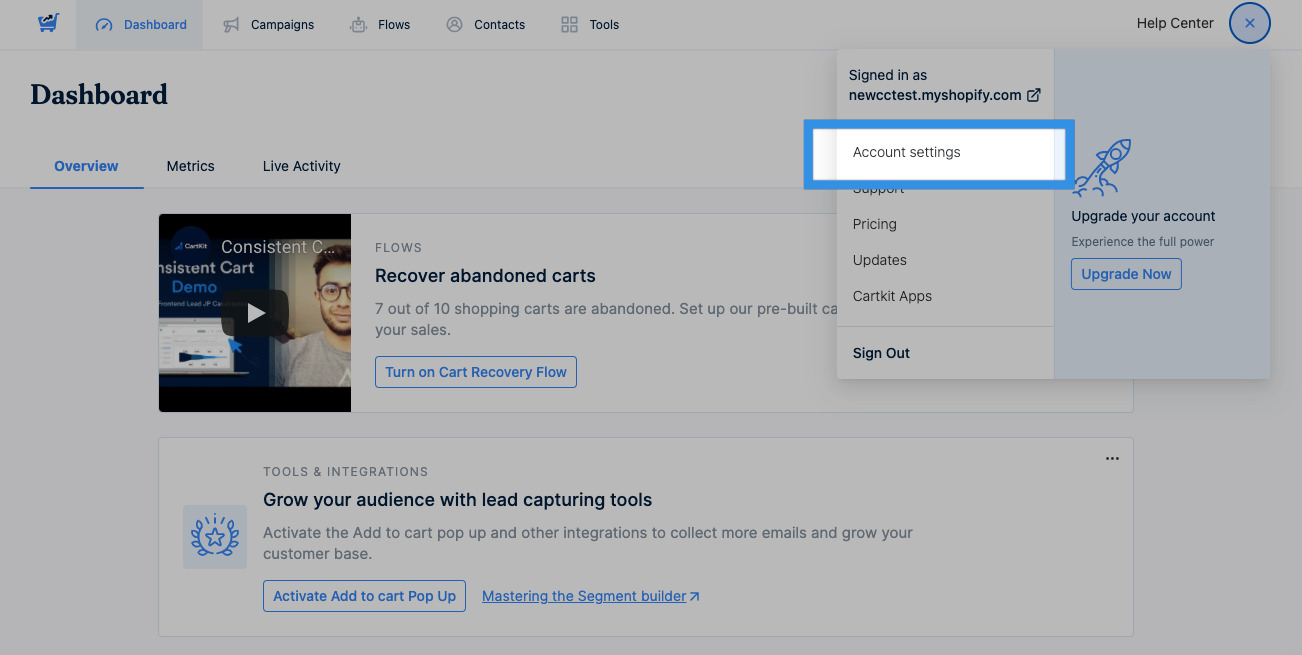
Step 2: Verify your email address
Verifying your email address will allow you to send emails from your own domain. In the event that you don't verify it, we will send your emails from a common email address we use for all our customers (hi@amplf.io).
Related: Steps to verify your branded email address
Step 3: Enable the Cart Recovery Flow
The Abandoned Cart Flow is likely to be one of your highest converting flows. Shoppers that abandon their shopping cart have a high probability of completing their purchase.
Getting started is super simple:
- Go to the Flows Library
- Click the Preview button under Cart Recovery Default
- Click Create Flow From This Template in the popup dialog
- Once the Flow is created, modify any email templates within the flow. Once you’re happy with the flow steps, be sure to enable the flow from the left side.
Need additional details on the Cart Recovery Flow? Fear not, we’ve got you covered here: Creating and enabling your Cart Recovery Flow.
Step 4: Sync or Import Contacts
When you installed Amplified, we automatically began the process of syncing your contacts from Shopify. Although this process is usually seamless, it’s still important to verify that all of your contacts were synced.
If there were any issues with the sync, please reach out to Customer Service and we’ll be glad to run another sync for you.
Importing your contacts into Amplified is the first step to having a cohesive contact database for your marketing campaigns. Now that you’ve got your contacts into Amplified, you're ready to create campaigns, enable flows and send emails. Woohoo!!!
Step 5: Connect subscription forms
Connect your forms to Amplified and start collecting more emails. It's easy; just reach out to our customer support team, and they will connect your form instantly.